I started designing a 3D scanner for small parts (jewelry, dental field) based on a different approach compared to existing solutions. Common approaches include projection of light structures and video acquisition with one or more camera. Laser vision is also another approach.
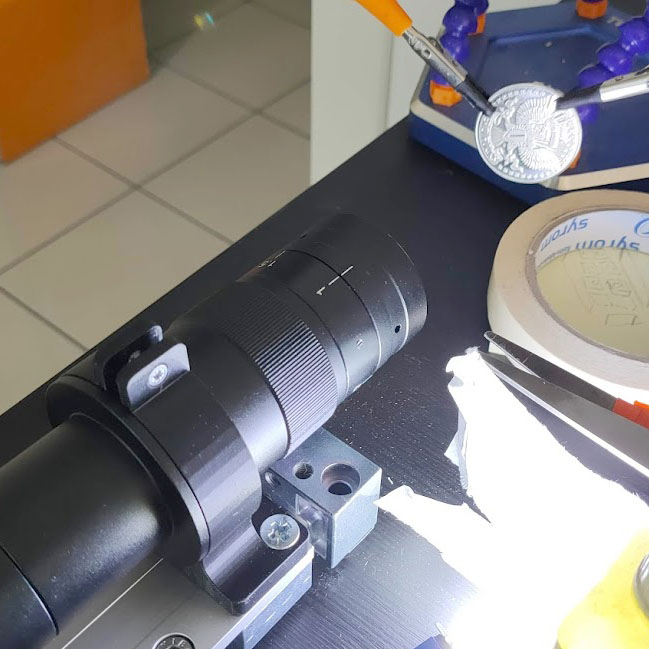
In my approach, an high resolution camera is mounted on a linear axis capable of very small and controlled movements. A microscope lens is used, and a very thin depth of focus (less than 0.1,mm) is preferred. Focus is kept fixed.
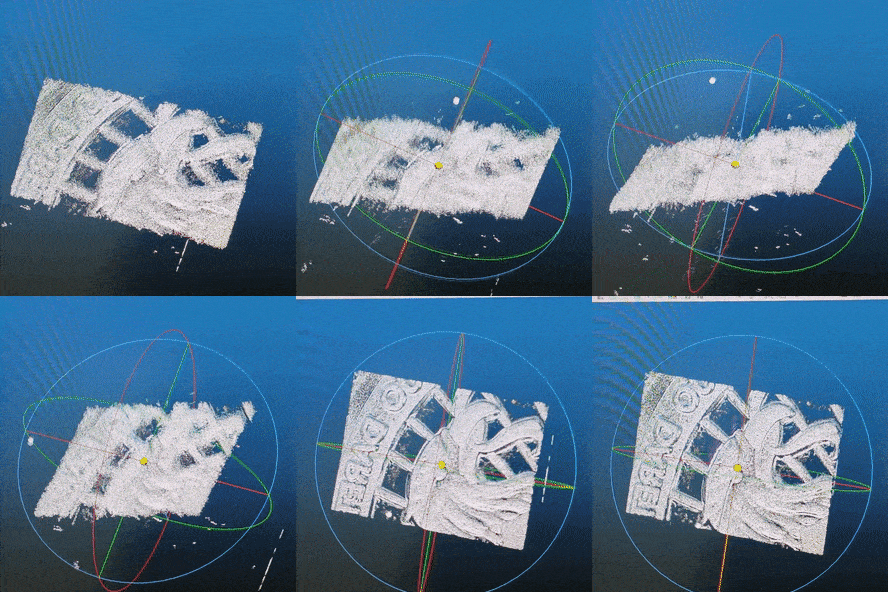
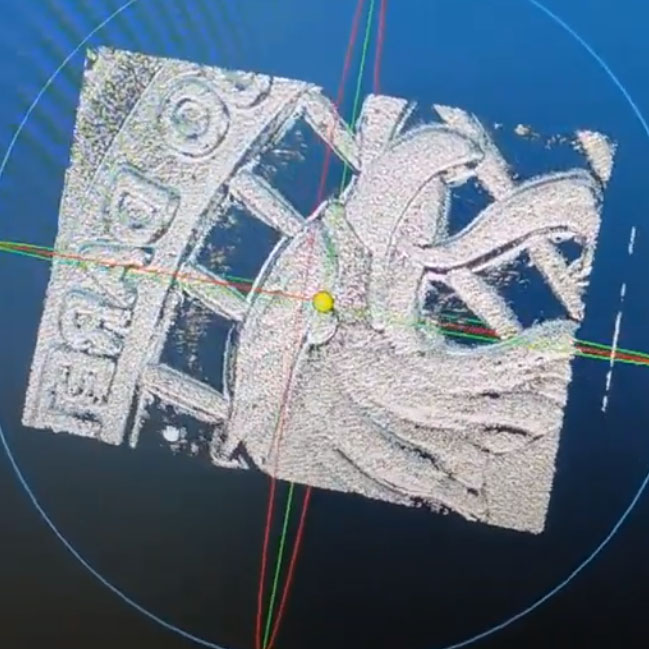
The parts that needs to be 3D scanned is placed on a 2 axis rotating platform. Then, a stack of photos is taken (usually 50-400) depending on the size of the object. For each photo, the linear axis is moved by 25 microns. Each photo has most of the image out of focus except a small part. When all the photos are taken, my software analyzes them and checks for each position of the linear axis, and each point of the image, which one of the stack has the highest contrast. Thus a 3D point map is created , that later is converted into a 3d mesh.
